Improve your WordPress website
One step at a time
Progress Planner is a free WordPress plugin that gives website owners clear, practical steps to optimize their websites, without needing any technical know-how.
Personalized website improvement tips
Clear weekly task checklist
Earn badges, stay motivated
Track your website progress
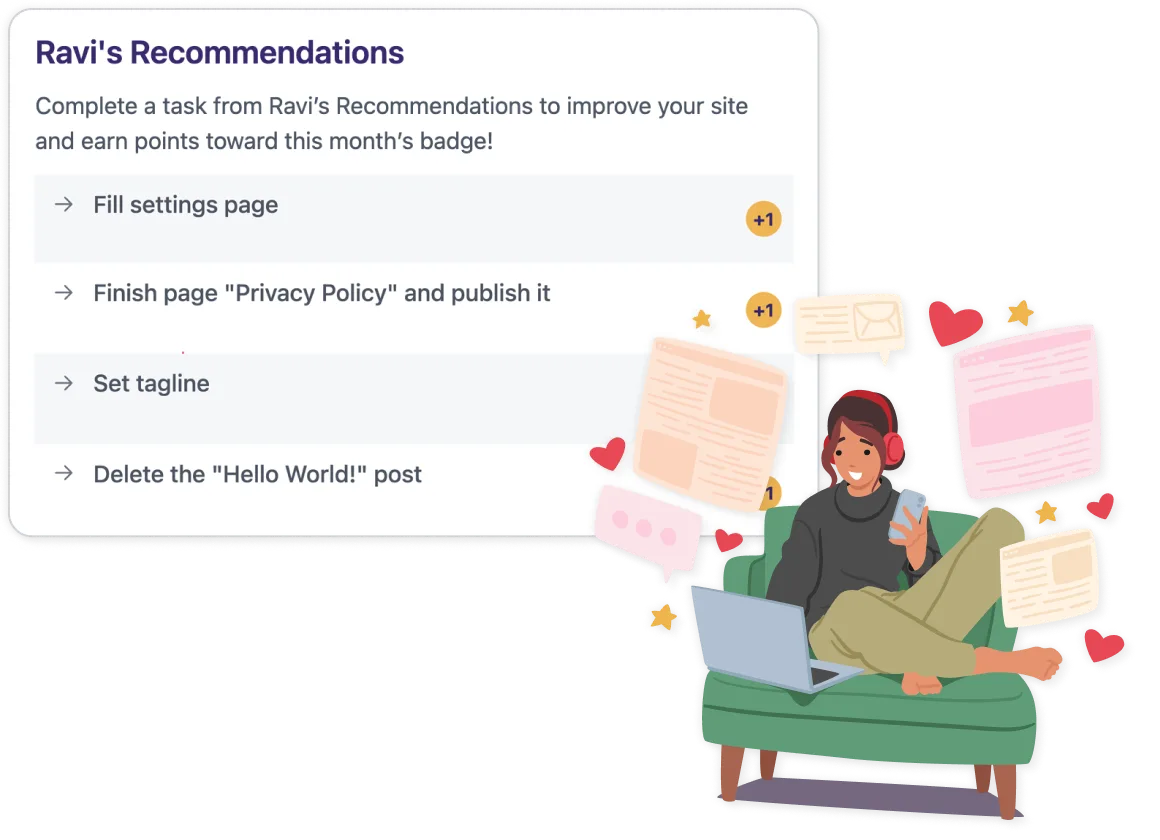
Practical tips for an instantly better WordPress website
Get simple, expert-curated tasks that quickly make your website faster, easier to use and better optimized for search engines. Each of our recommendations tells you exactly what step to take next, where to make changes and clearly explains why it matters. No technical experience required.
- Practical tasks to complete in under 5 minutes
Each of our recommendations tells you exactly what step to take next, where to make changes, and clearly explains why it matters. No technical experience required.
- One-of-tasks
Some tasks just need to be completed once. Progress Planner helps you identify and resolve them.
- Recurring tasks
Sometimes it’s not enough to do a task just once, they need to be repeated. Progress Planner reminds you when it’s time to revisit them!
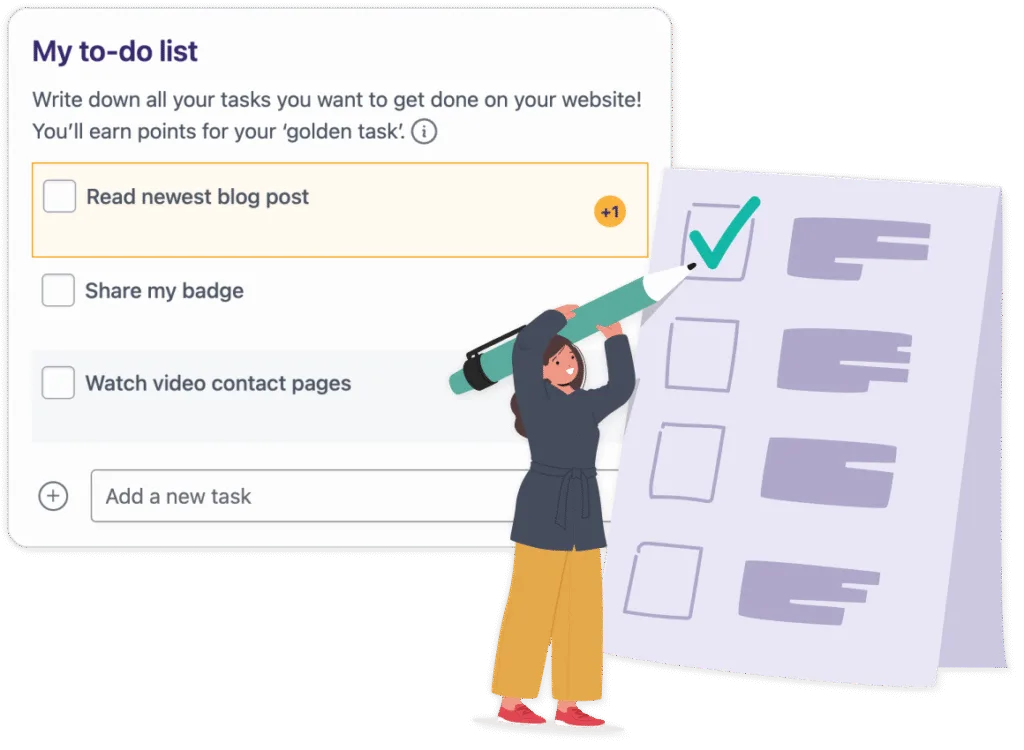
Keep your website tasks organized
Next to Ravi’s Recommendations, you can write down all the website tasks you want to complete in your to-do list, right inside Progress Planner. Each week, you’ll choose your own ‘golden task’ to prioritize and earn points. Completing tasks helps you stay organized, motivated and focused on your goals.
- All tasks in one place
Easily track all your website tasks in your Progress Planner to-do list.
- Choose your weekly priority
Select your ‘golden task’ each week to clearly focus your efforts.
- Earn points, stay motivated
Complete tasks to earn points and keep momentum high.
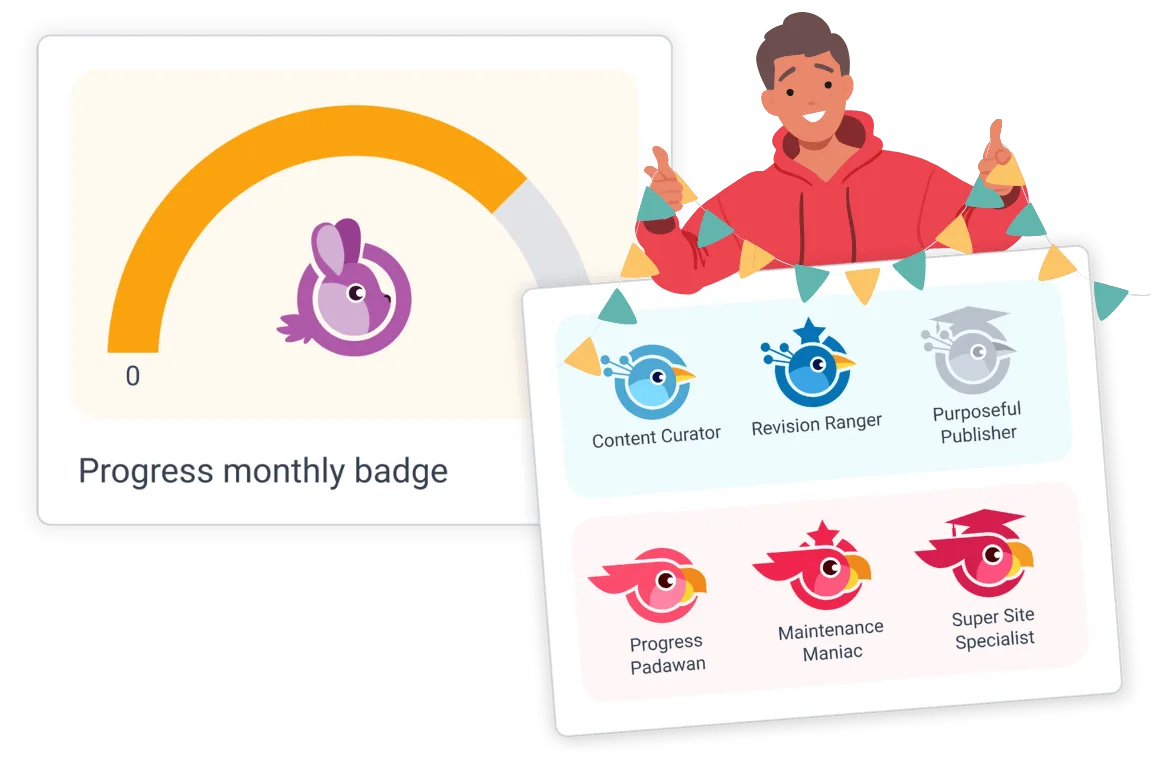
Celebrate your progress
Build momentum, see results
Every step you take makes your website better. Progress Planner tracks your progress, celebrating achievements with badges and streaks to keep you motivated and engaged.
- Clearly track your progress
Watch your website get better with each completed step.
- Celebrate your achievements
Earn badges to highlight and reward your progress.
- Visualize your growth
See your ongoing progress clearly with visual progress overviews.
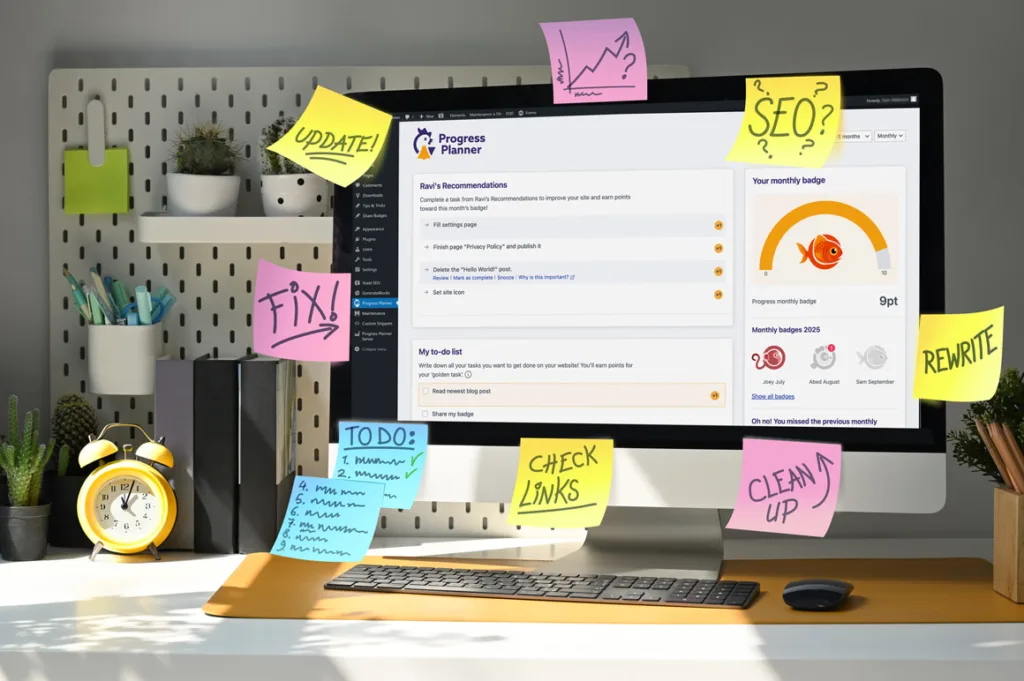
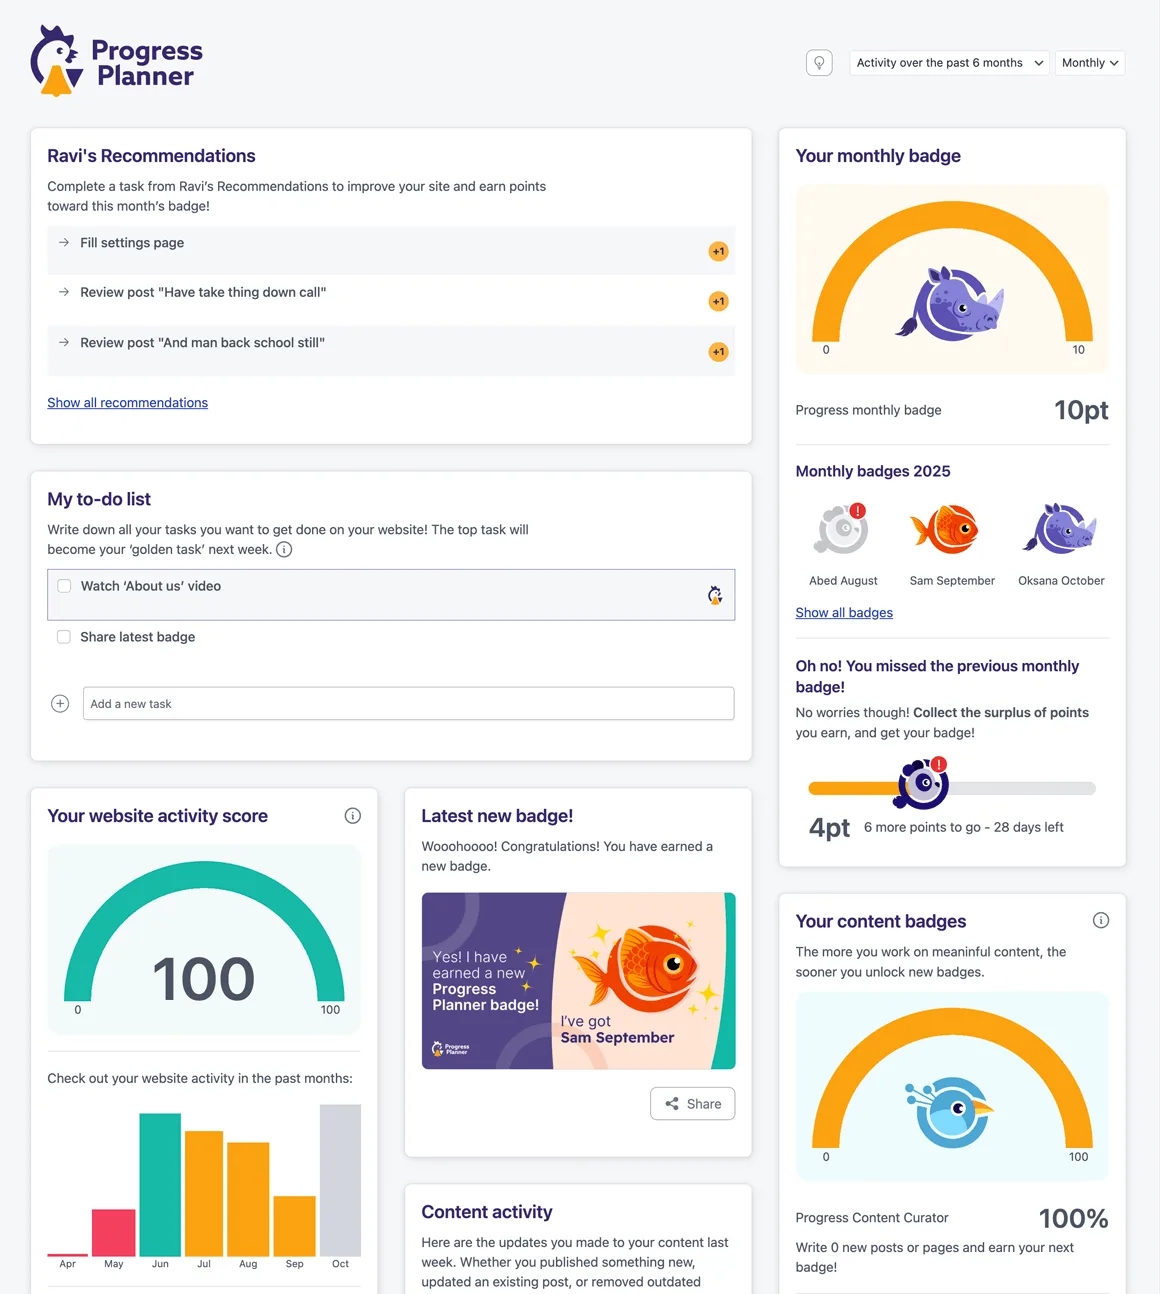
Everything you need, in one dashboard
Access all your website tasks, recommendations and achievements in one clear, easy-to-use dashboard. Always know what you’ve done, and clearly see what’s next.
- All your tasks, clearly visible
Quickly view tasks, recommendations, and completed achievements.
- Clarity at a glance
A neatly organized dashboard that’s simple and always accessible.
- Simplify website management
Effortlessly stay on track and optimize your website without confusion.
New on the Progress Planner blog
-
Big news: Progress Planner is joining Your.Online
Big news: Progress Planner is joining Your.Online. Same mission, helping you make real progress on your site, now with a much bigger plan, AI and European hosting behind it.

-
How to optimize your content for AI (and Google)
Learn how GEO helps your content show up in AI tools like ChatGPT and Google AI answers. With clean structure, direct answers, and solid schema, your content becomes easier for people to read and easier for AI tools to pick up and use.

Get your site in the spotlight
Want the team to roast your website (with love)?
Apply to be featured in our Site Spotlight series for a free video review of your website.
Get honest, helpful, and slightly sassy feedback from a team of experts who know what makes websites work!